

Exciting news! Windows Co-Pilot, Microsoft’s AI assistant, is now available to everyone.
In recent years, the integration of artificial intelligence (AI) into everyday technologies has marked a significant milestone in the evolution of user experiences. Microsoft, a frontrunner in this field, has been pioneering AI-driven solutions for years. Among these innovations is Microsoft Co-Pilot, an AI assistant designed to enhance user productivity and accessibility. Building upon Microsoft’s rich history of AI development, Co-Pilot seamlessly integrates with various Microsoft products and services, including the Bing browser. Its integration with Bing allows for streamlined search experiences and intelligent assistance while browsing the web. Now, with the latest versions of Windows 10 and 11, Microsoft has made Co-Pilot accessible to all users, free of charge. This democratization of AI technology represents a bold step towards empowering users with cutting-edge tools to navigate and interact with their digital environments effortlessly.
Getting it is easy; just follow these steps:
1) Update Windows: Ensure your Windows is version 22621.2361 or later. Simply go to Start, open Windows Update, and check for updates.

2) Verify Your Windows Version: To confirm your Windows build, search for “winver” in the Start menu and open it. If your version matches or exceeds 22H2 (OS Build 22621.2361), you’re set.
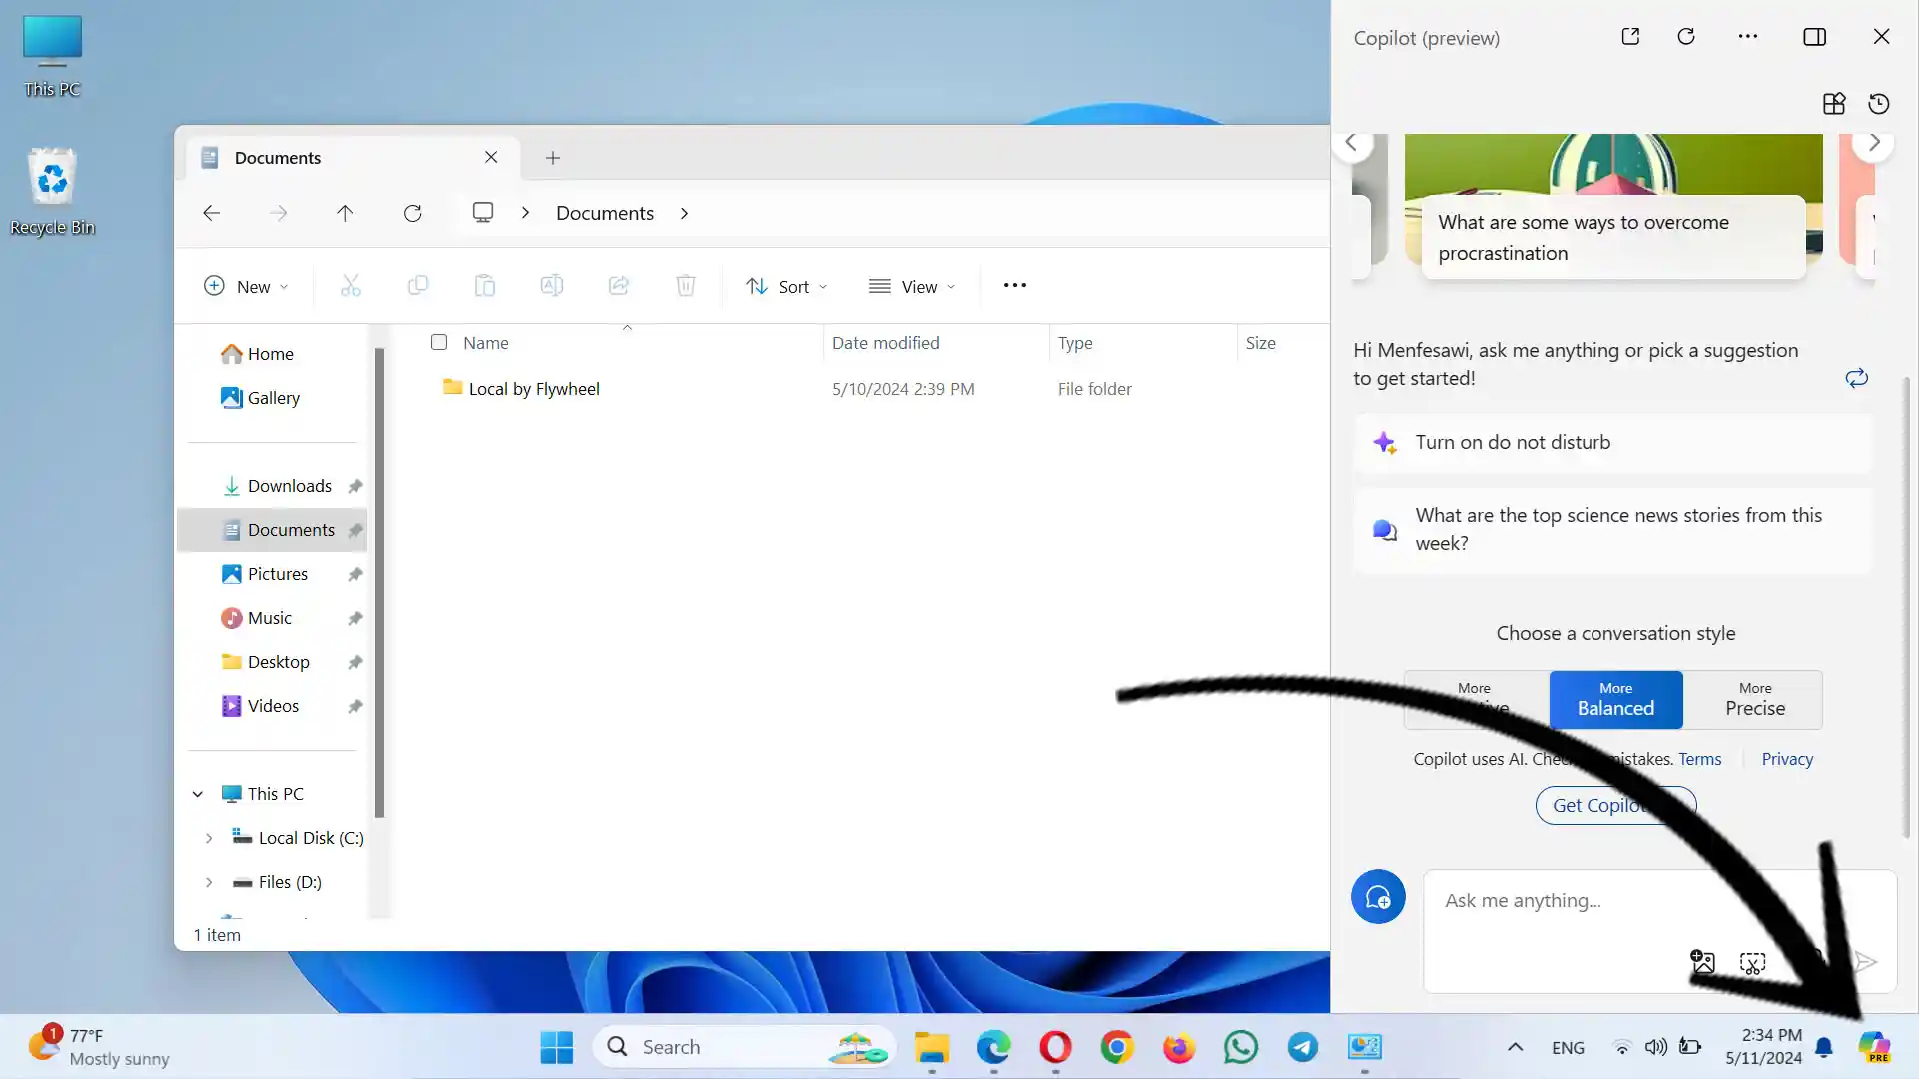
3) Enable Co-Pilot: If you windows is up to date and build version is greater than .2361, look for the Co-Pilot or Co-Pilot Preview option in Taskbar settings. Turn it on to access the Co-Pilot icon in your taskbar by going to Start menu => type “taskbar” => open & enable copilot

No Copilot Option in Taskbar Settings?
What if you updated Windows but don’t see the Co-Pilot option? No worries. You can easily enable it with a tool called Vive Tool:
1) Download Vive Tool: Vive Tool streamlines the process of enabling Microsoft Co-Pilot for users who don’t initially see the option in their Windows settings. With its intuitive interface and straightforward steps, Vive Tool makes activating Co-Pilot effortless, ensuring users can access AI assistance with ease. Find the latest release here. It’s better if you Download .zip file without “arm” in the title.
2) Extract Files: Extract the files to a folder, like on your desktop.
3) Open CMD or Powershell: Search for “CMD” or “Powershell” in Start and open it as an administrator.
4) Navigate to Vive Tool Folder: Type “cd” followed by the folder’s address in quotes to navigate to the Vive Tool folder. e.g. cd C:\Users\menfe\Downloads\Compressed\Vive-tool
5) Enable Co-Pilot: Once you changed the directory to Vive tool folder,
if you are in CMD, write ViveTool.exe/enable/id:44774629,44776738,44850061,42105254,41655236 & hit enter
if you are in Powershell, type ./ViveTool.exe/enable/id:44774629,44776738,44850061,42105254,41655236 & hit enter
6) Reboot: After you execute the CMD line, you will see message saying “ViveTool v-0.x.x Windows feature configuration tool. Successfully set feature configuration(s)“. Finally restart your computer.