Creating custom post types in WordPress allows developers to extend the functionality of their websites beyond standard posts and pages. By defining custom post types in the functions.php file of a theme or plugin, developers can organize and display different types of content tailored to their specific needs. This flexibility enables the creation of diverse content structures, such as portfolios, testimonials, events, products, and more, enhancing the overall versatility and usability of a WordPress website.
Creating Post type in WP within functions.php or code snippet plugins
I WordPress, there is wp function called register_post_type(); which takes two arguments they are the post type id or permalink and post data like name, Post icon, Publicity and others. This function have to be hooked in 'init' function of WordPress as add_action() function.
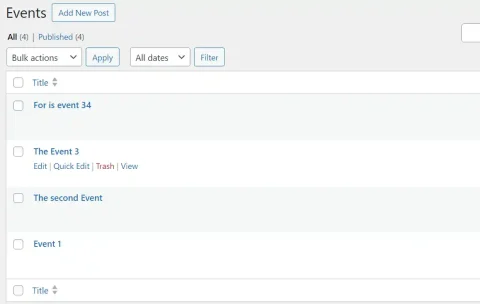
This Example below shows the snippet that creates custom Events post type.
function create_events_post_type() {
    register_post_type( 'event', array(
        'labels'             => array(
            'name'               => __( 'Events' ),
            'singular_name'      => __( 'Event' ),
            'add_new'            => __( 'Add New Event' ),
            'edit_item'          => __( 'Edit Event' ),
            'view_item'          => __( 'View Event' ),
            'search_items'       => __( 'Search Events' ),
            'not_found'          => __( 'No events found' ),
            'menu_name'          => __( 'Events' ),
        ),
        'public'             => true,
        'show_ui'            => true,
        'rewrite'            => array( 'slug' => 'event' ),
        'capability_type'    => 'post',
        'supports'           => array( 'title', 'editor', 'thumbnail', 'excerpt' ),
        'menu_icon'          => 'dashicons-calendar',
    ) );
}
add_action( 'init', 'create_events_post_type' );
The 'labels' array in this code is used to define various textual labels and descriptions for a custom post type, including its name, singular name, add new item label, edit item label, view item label, search items label, not found label, and menu name.
The 'public': Specifies whether the custom post type should be publicly query able, enabling it to be accessed via URLs.
The 'show_ui': Determines whether to display the user interface for managing the custom post type in the WordPress admin area.
The 'rewrite': Defines the URL rewrite rules for the custom post type, including the slug used in permalinks.
The 'capability_type': Sets the capability type used for determining the user roles and permissions required to interact with the custom post type. That is not significantly important to set 'capability_type' if you use post type of post.
The Menu icon used in this snippet instance can be found from WordPress Dashicon. Follw this steps.
- Choose a Dashicon: Visit the WordPress Dashicons website (https://developer.wordpress.org/resource/dashicons/) and select the dashicon you want to use. For example, if you want to use the calendar dashicon, you would choose the
'dashicons-calendar'class. - Use
'menu_icon'Parameter: In the'register_post_type()'function for your custom post type, use the'menu_icon'parameter and set it to the chosen dashicon class.
Making The Custom Post Type Permanent In WordPress
We could add this WordPress Action hook to functions.php file of the theme as it is an WordPress hook. But that makes the custom post type disappear when WordPress theme is changed or uninstalled like activating other theme or plugin.
To keep the custom post type as default with WordPress, There is something called Must Use Plugins in WordPress. Steps to add post types as permanent
- Create a folder called mu-plugins inside wp-content (“public_html/wp-content“) where all wp data is stored
- Open the mu-plugins folder in editor and add a-file-with-any-name.php
- Add
register_post_type()function as action before WordPress'init'function.
After you do this step the function will remain in the mu-plugins folder and no matter what, the post type will be kept alive. In the future the user may change the theme or if that is plugin, the user may deactivate plugin, but this custom post type will remain inside the wp-content file.
—- Thankyou for Reading —-
Making The Custom Post Type Permanent In WordPress