Creating a dynamic menu controlled from WP-Admin directly in the header.php file offers unparalleled flexibility and ease of management for website owners. This feature empowers administrators to effortlessly update menu items, reorder them, and even add new pages or categories without touching a single line of code. This not only saves time but also ensures consistency and coherence across the website’s navigation structure. Such a functionality is crucial for businesses, bloggers, and organizations aiming for a user-friendly website experience. By facilitating seamless navigation control, this dynamic menu solution enhances user engagement, improves SEO, and caters to evolving content needs.
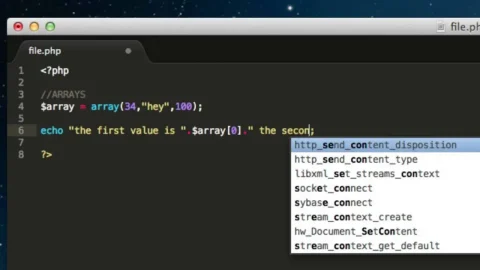
In functions.php file there is the function called register_nav_menu(); that accepts two args the menu variable name & user readable menu name as register_nav_menu( 'yourCustomMenu', 'Custom Main Menu' );
This menu action function should be hooked to WP 'after_setup_theme' function.
Steps to create WordPress menu in header.php file of your custom theme
1) Register Menu Locations
This step defines the areas in the theme where menus can be assigned by the user through WP-Admin. In the functions.php file, use the register_nav_menus() function to register menu locations. This function can accept associative array if you want to add more menu locations. If you are not sure of what an associative array is please refer to this post. For example:
function theme_name_register_menus() {
    register_nav_menus( array(
        'yourCustomMenu' => esc_html__( 'Custom Main Menu', 'theme_name' ),
        'customMenu1' => esc_html__( 'Custom Menu One', 'theme_name' ),
        'customMenu2' => esc_html__( 'Custom Menu Two', 'theme_name' ),
    ) );
}
add_action( 'after_setup_theme', 'theme_name_register_menus' );
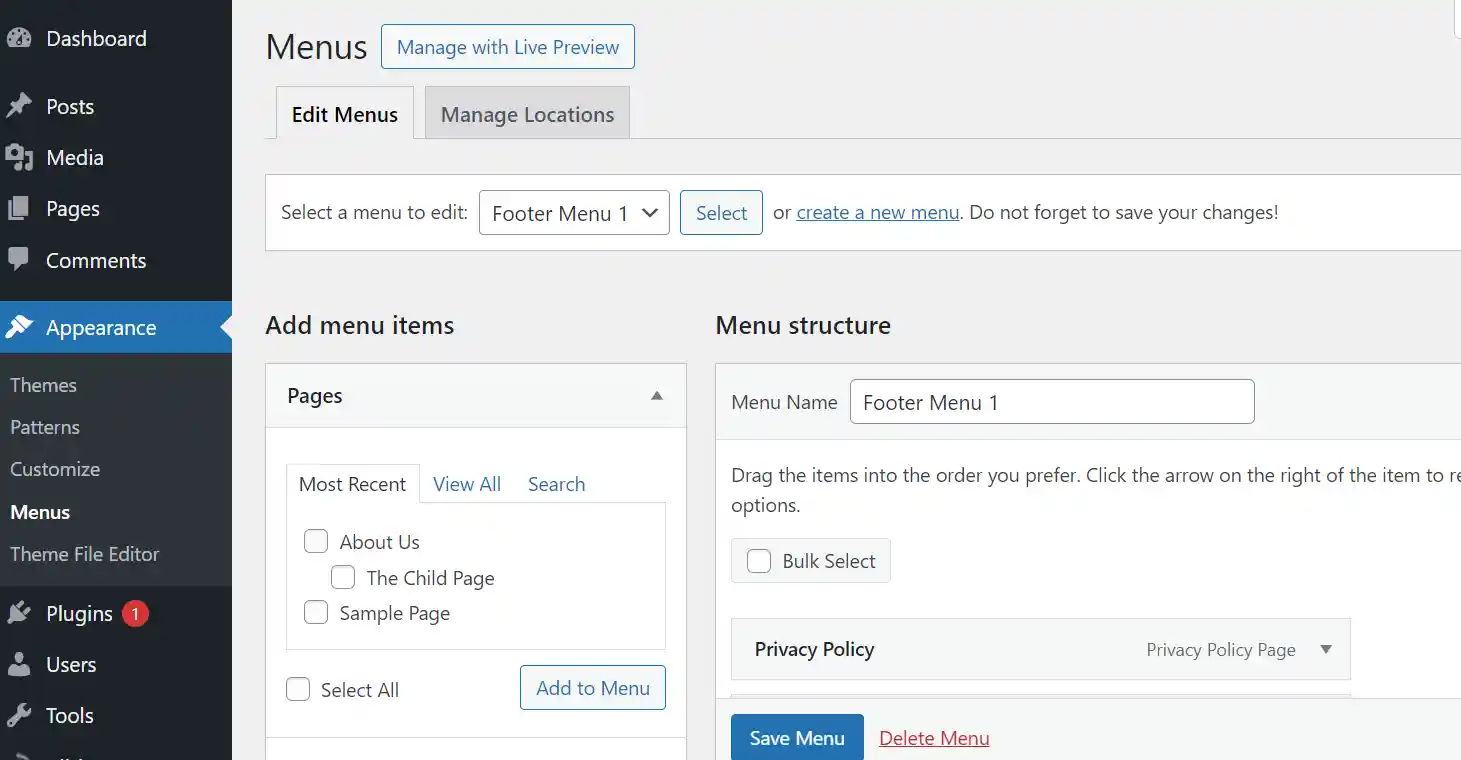
After adding this code in your functions.php file, you will notice now there is a “Menus” option in your wordpress “Appearances” tab you will see the three locations and you can add menu items to each locations and save. But the main part is where those menus are displayed? you have to add those menus somewhere in your theme.
2) Add Menu Code to header.php or other part of the theme
In this step you will add the PHP code that fetches the menu items that are registered in functions.php to the theme template file (header.php or any other area in the template like footer or even inside the body) to display the menu. There are WP built-in functions like wp_nav_menu() or wp_get_nav_menu_items() which accepts an associative array as an argument like 'theme_location' as key and menu ID as value & used to retrieve and display the menu. For example:
<nav id="site-navigation" class="main-navigation">
    <?php
    wp_nav_menu( array(
      'theme_location' => 'yourCustomMenu'
    ) );
    ?>
</nav>
3) Access WP-Admin Appearance Menu
In this step users can access the WP-Admin dashboard and navigate to the Appearance > Menus section and modify menus and save.
4) Assign Menu to Location
Users can assign the created or modified menu to specific menu locations defined in the theme in step 1 & 2.
5) Save Changes & Test it on the front end
After configuring the menu, users save the changes made in WP-Admin, ensuring that the modifications are applied to the website. Thoroughly test the dynamic menu on the website ensuring that it appears correctly, functions as expected, and maintains responsiveness across various devices.
Conclusion
Each code snippet provided serves a specific role within the theme development process. The register_nav_menus() function registers menu locations, wp_nav_menu() generates the HTML markup for the menu, and accessing WP-Admin allows users to manage and assign menus. These steps collectively enable the creation and implementation of a dynamic menu system controlled from WP-Admin.
—- Thankyou for Reading —-